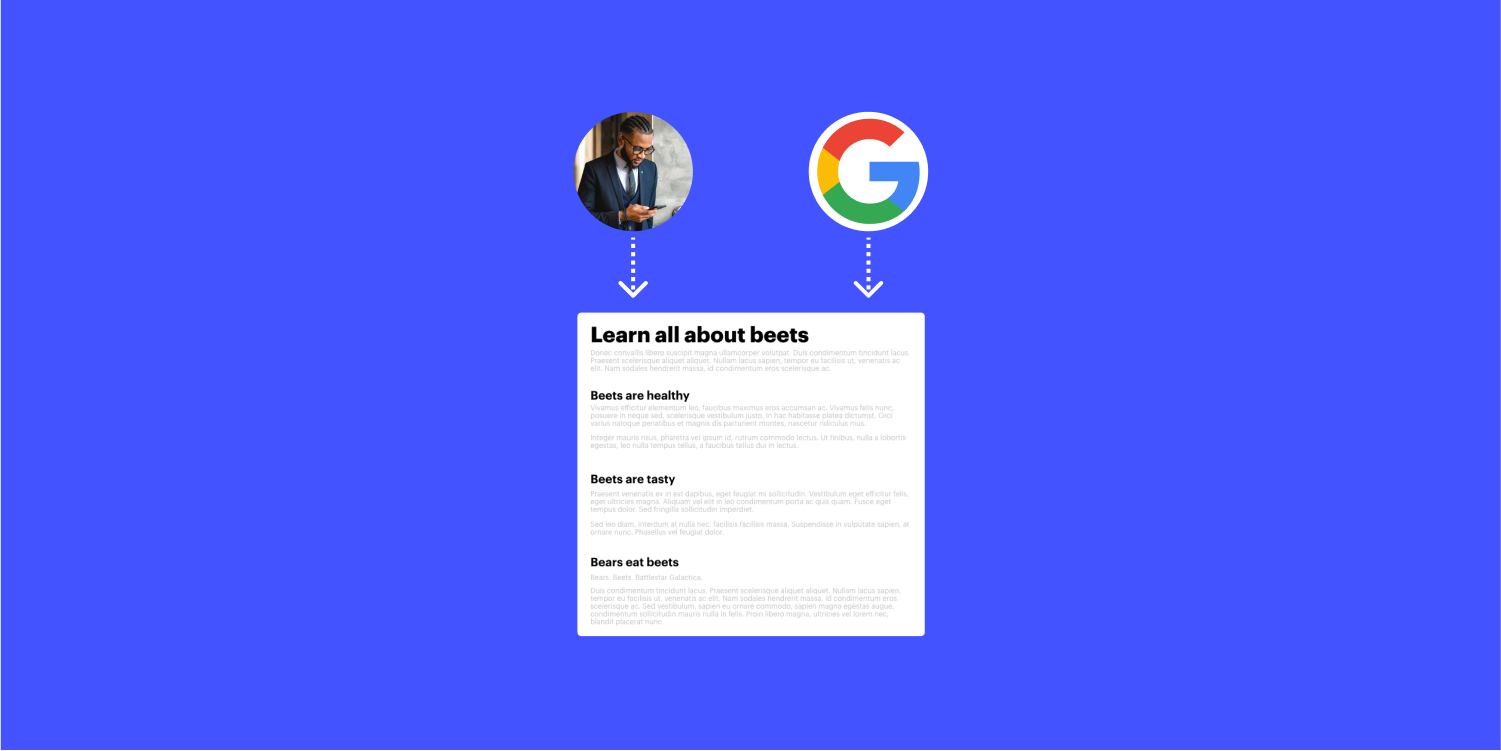
見出しは、人間のユーザーをはじめ、検索エンジンに内容をよく理解してもらうために大切です。
このレッスンでは
- 見出しを追加する
- 見出しのスタイルを設定する
- 見出しのテキストを編集する
- 見出しの書式設定
について紹介しています。
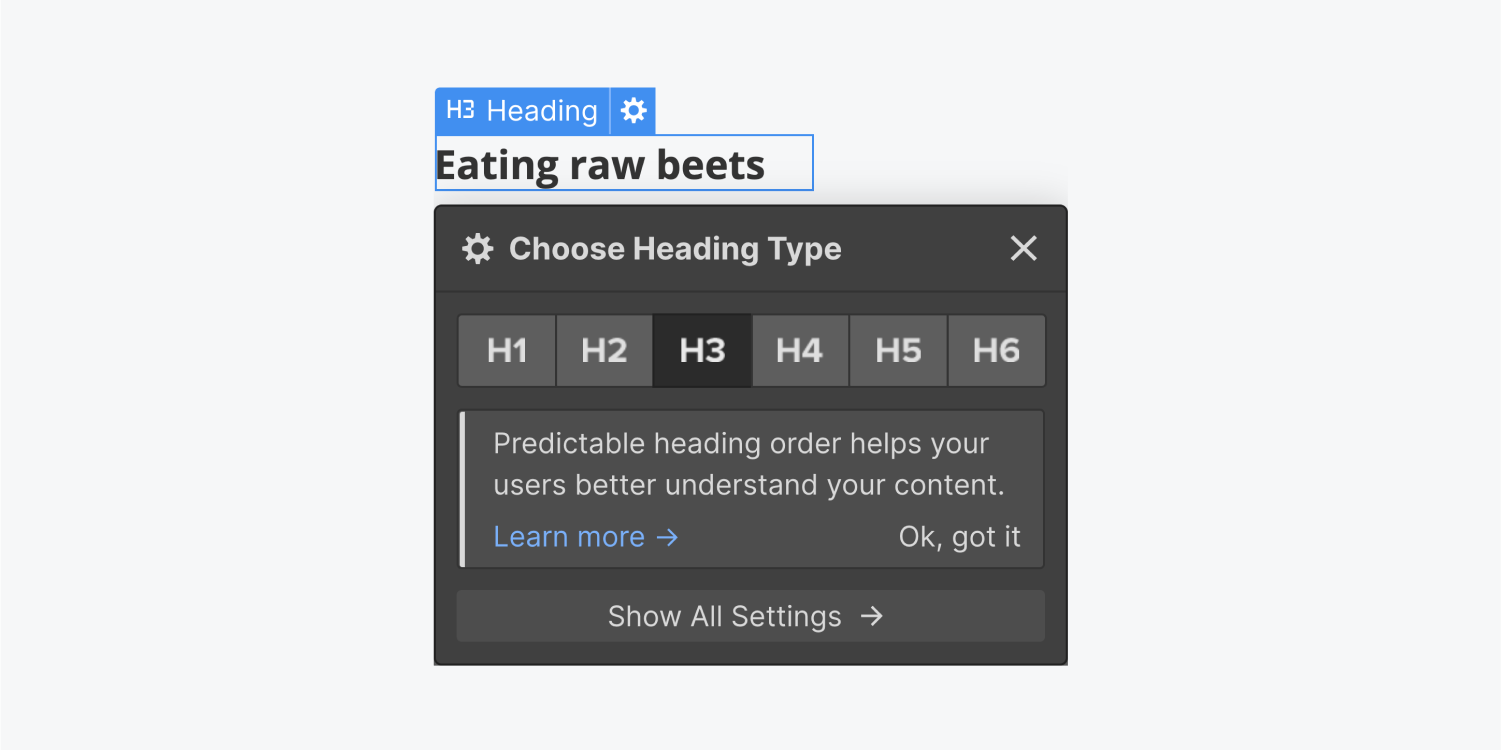
1. 見出しを追加する
見出しは簡潔で、ユーザー向けに書かれたものであるべきです。 Webサイトでは、見出しを使い分け、コンテンツを整理する方法が数多くあります。
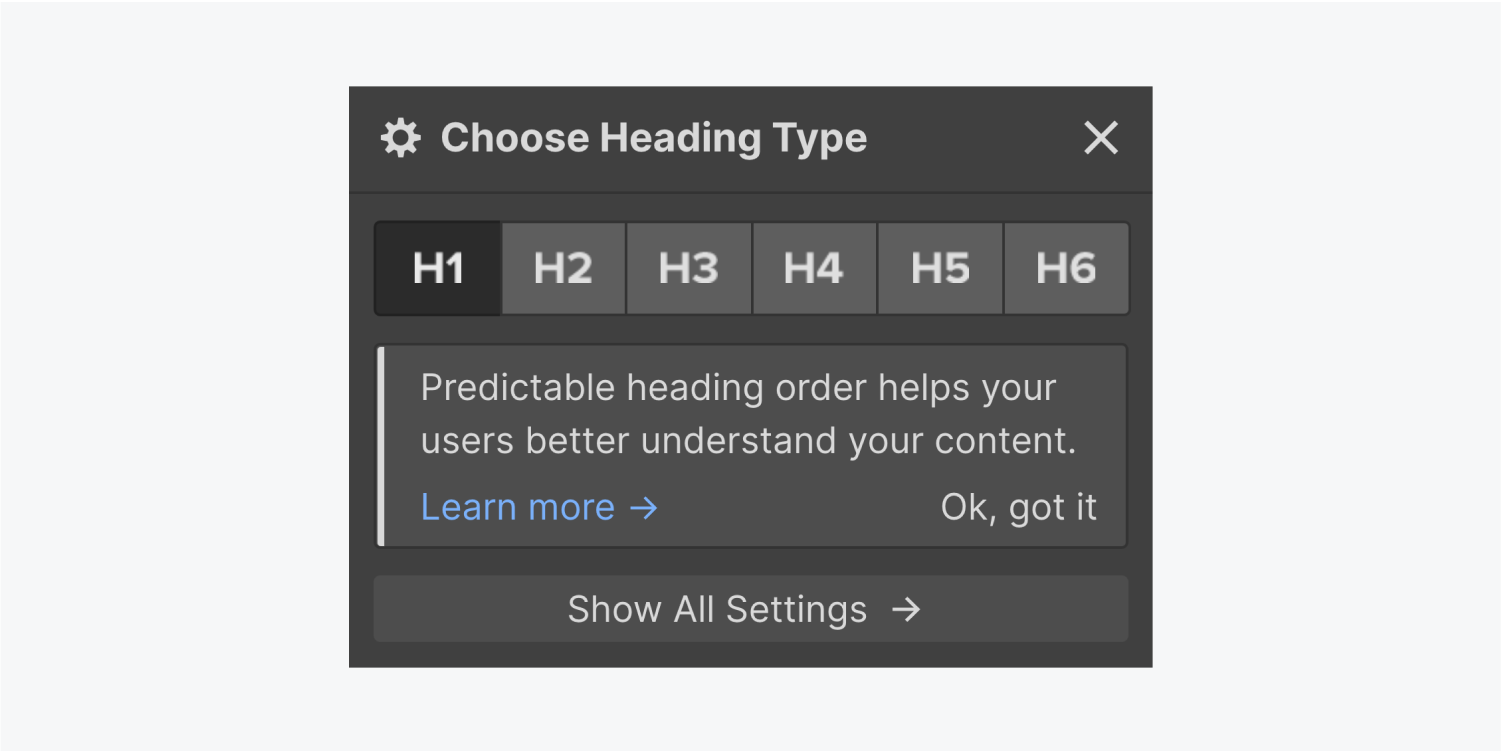
・トップの見出し(H1)
トップレベルの見出しは、ユーザーや検索エンジンが最初に目にする言葉で、通常H1で設定します。これは、新聞でいうところの見出しのようなものです。
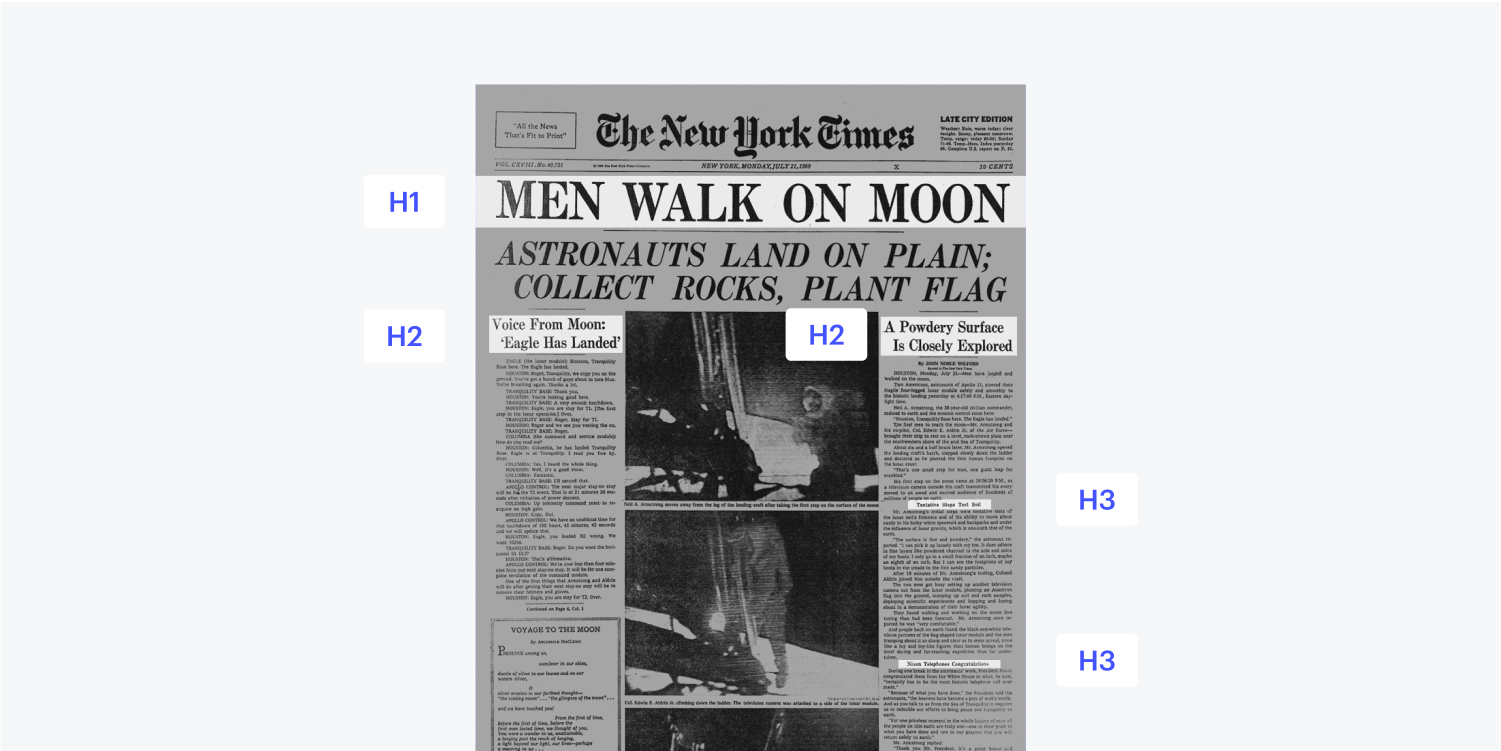
・子見出し(H2)
サイトの他のセクションには、小見出しが含まれることがあります。これらは通常、H2で構成されています。
・さらなる細かい見出し(H3)
H3はH2の下に入れ子にすることができます。
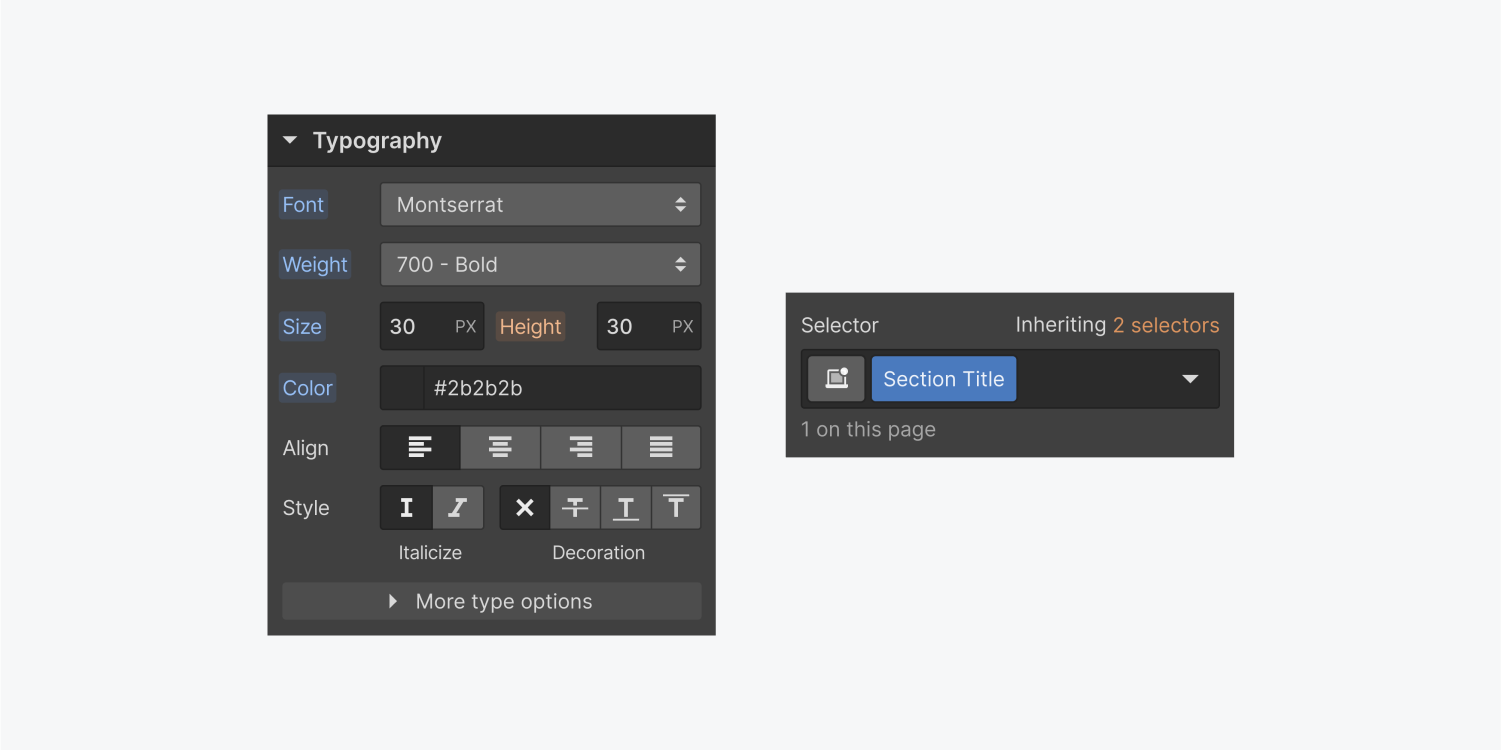
2. 見出しのスタイルを設定する
見出しのスタイルは以下の手順で設定します。
- 「追加」パネルからキャンバス上に追加します。
- 見出しをダブルクリックして内容を編集し、スタイルパネルでフォント、フォントサイズ、フォントウェイト、色などを編集します。
- 既にスタイル付きの見出しがある場合は、それにクラス名を付けることができます。
3. 見出しのテキストの編集
テキストを編集するには、
- 要素をダブルクリックするか、要素を選択してからEnterキーを押します。
- その後、プレースホルダーのテキストを選択し、独自のコンテンツに置き換えます。
4. 見出しの書式設定
見出しの特定の部分を太字にしたり、斜体にしたり、スタイルを設定したい場合は、見出しの要素をダブルクリックして、コンテキストメニューからスタイルを設定します。